Creating a gallery wall
I really love the trend of gallery walls. No, not trend because gallery walls have been around a long time, but more so the one’s that are mixing items vs. all art or photos. Do you know what I mean?
We had a gallery wall above my sofa for a long time. Twelve 8×10 photos of the kids and the family lined up symmetrically. Then I changed paint colors and the wall no longer worked. I took it down and replaced it with two pieces of art that my amazing friend Ann created for me.
But, I yearned for a fun gallery wall. However, my walls were mostly covered in some form of art that seemed to fit each room that I really didn’t have a place for a gallery wall. Then, one day, walking up to the addition, the playroom which is off the kitchen I suddenly stared at my stairs and realized I had a HUGE blank canvas with which to work. I ran around my house collecting frames, miscellaneous wall decor, etc. I knew I wanted this space to be bright and fun so I pulled out spray paint and painted the frames fun and bright colors.
I am a very visual person, but not visual in the sense I draw it out on a pieces of paper type of person. We hung one large photo on the wall and then I picked up the next, handed it to my husband and had him hold it up to where I thought it fit. It was almost like playing tetris, did y’all play that? If you did, you know what I mean, but a lot more fun.
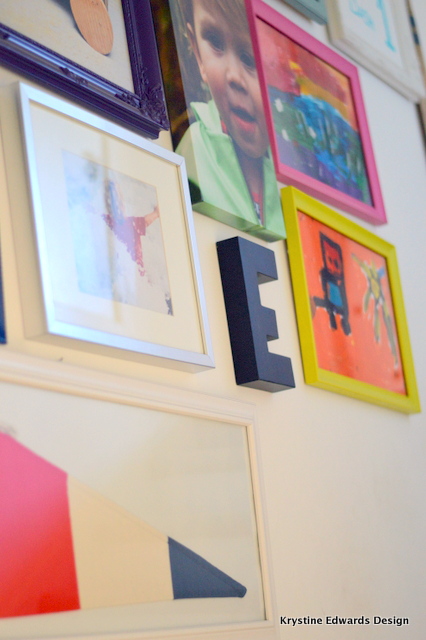
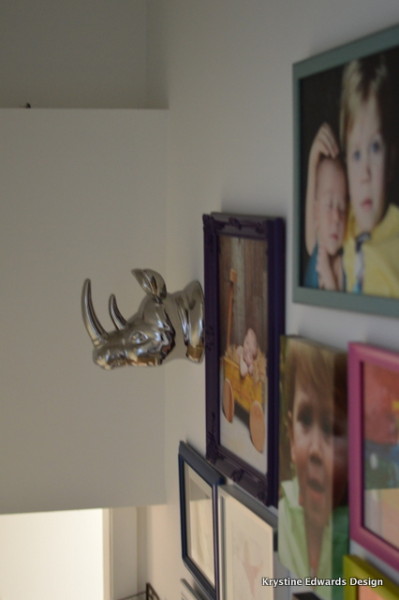
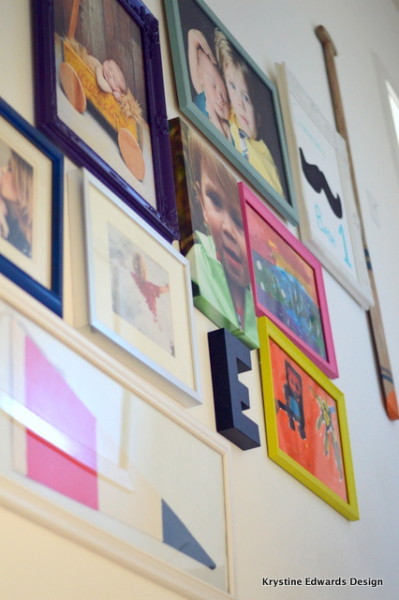
The goal for this wall was to have a variety of sizes, shapes and dimension. I did not want everything flat. I included family photos, art my children created, faux animal heads and art that I painted for my childrens birthdays. I left some room to grow too as I expected to add more art and fun pieces as my children grow.
So, some tips for you to create your wall.
1. Gather a collection of items, all sizes, color, shapes, etc if you want an eclectic mix.
2. Invest in 3M wall hangers so that you don’t destroy your wall while creating it.
3. Keep most items between 2-4 inches apart from one another.
4. Keep a level handy in case you’re hanging something horizontally that may be long and require two nails.
5. Walk away and come back to the space for the next few days. You don’t have to settle on day 1, some time it takes time for the wall to be what you envisioned.
I love finding items in thrift stores, antique stores and other local shops. I do find a lot online and some of these items below are staples for a gallery wall.

And, here are some inspirations for y’all if you’re interested in creating a wall.
This rustic wall has so many fun elements.
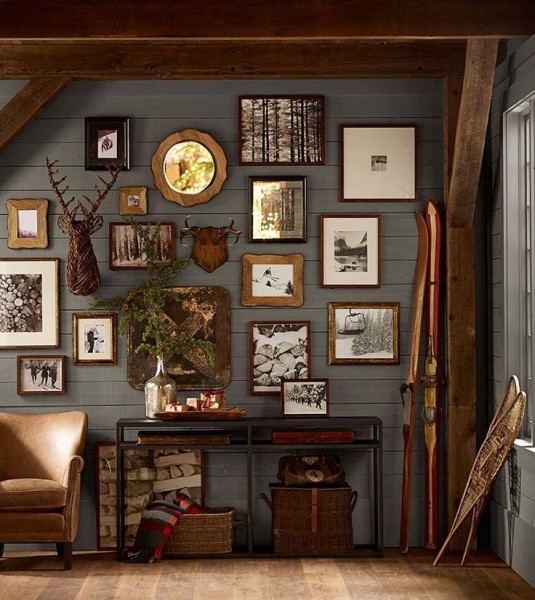
The way the art goes across the top of the door is so different but works well here.
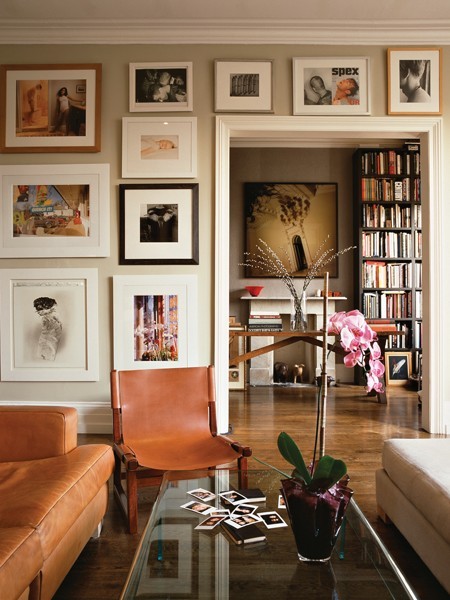
Via Katie Armour
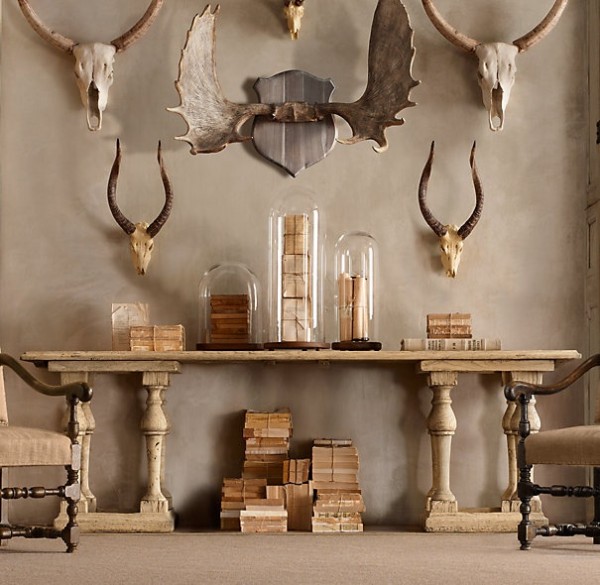
You don’t always have to use art, here’s a fun wall!
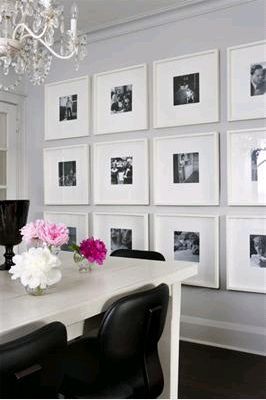
Here’s a beautiful symmetrical wall.
This is a very sophisticated wall.
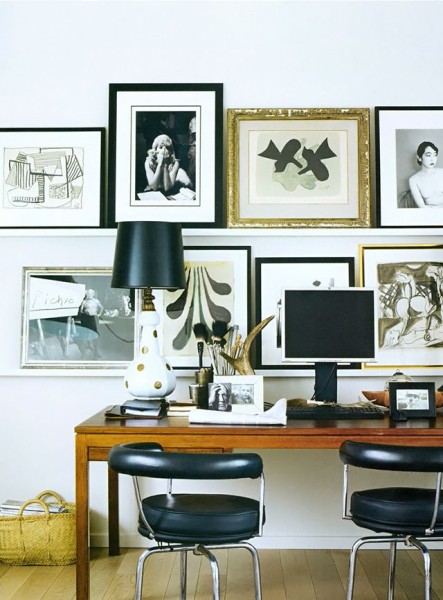
Via Habitually Chic
I love this wall and the colors!
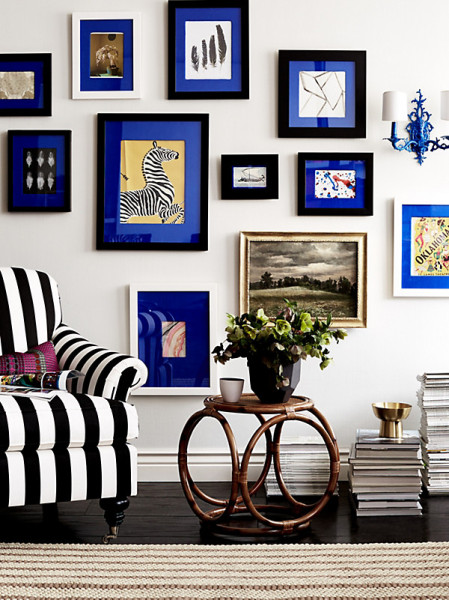
Created by Design Sponge
Photos: Drew Gardner
Happy Monday friends and good luck creating a gallery wall!


Sorry, the comment form is closed at this time.
cassie @ primitive & proper
we have a small gallery wall of ohotos my dad and brother took, mixed with a couple special photos from our family that lead to our playroom. it’s the perfect place for fun and special memories! and i love the added rhino!
Krystine
I love that, I really love walking to the playroom and seeing ours. I bet yours is fantastic!
Claire Brody
Such great tips, Krystine! I think I’ve been under a rock because I have never used 3m strips for my gallery walls. I think my landlord will appreciate me figuring this out. Love your picks for a gallery wall – between the brass geese, faux steer skull and the bright framed print, I’m in trouble. xo
Krystine
HA I’m sure your landlord would appreciate it! Thanks Claire, tell your hubby sorry, I promise to not post those kind of items anymore! 😉